When it comes to camping, enjoying a cold beer can be a delightful way to unwind and relax after a day of outdoor activities. However, keeping beer cold while camping can pose a challenge, especially in warmer weather or during longer trips. The last thing you want is to crack open a warm beer that fails to satisfy your thirst. That’s why it’s essential to know some effective strategies for keeping your beer chilled and refreshing throughout your camping adventure. In this article, we will explore various tips and techniques to help you keep your beer cold and enjoyable, ensuring a memorable camping experience. So, let’s dive in and discover how to keep your beer perfectly chilled while camping!
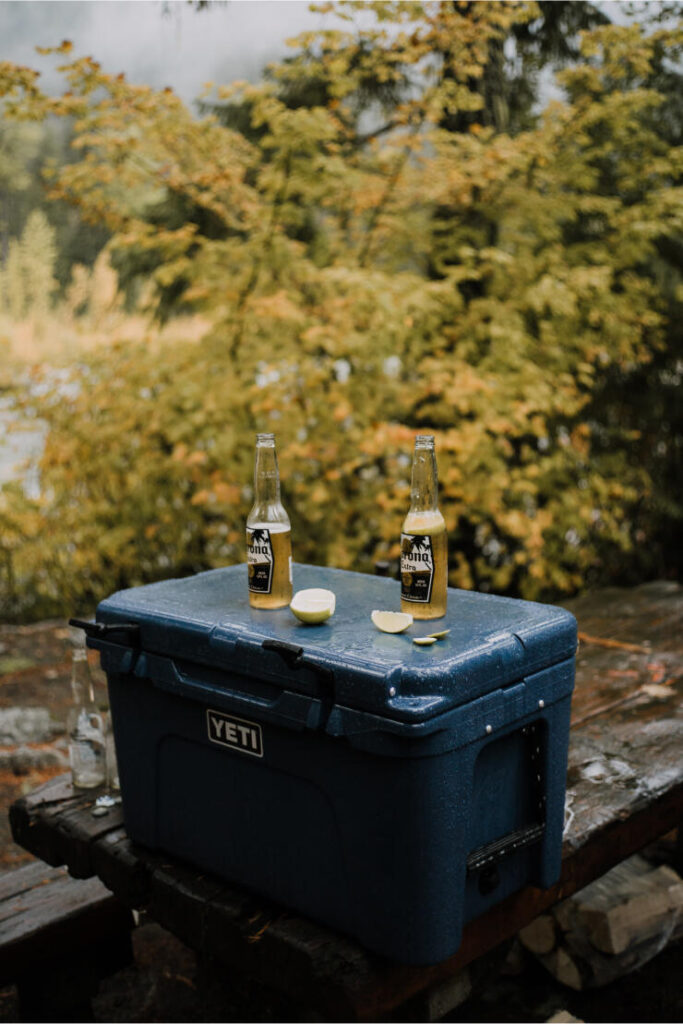
One of the most important factors in keeping beer cold while camping is choosing the right cooler. Look for a high-quality cooler that offers excellent insulation and is specifically designed for keeping items cold for an extended period. Consider the size of the cooler based on the amount of beer you plan to store, as well as the duration of your camping trip. A larger cooler may be necessary for longer trips or if you’re camping with a group.
Opt for coolers with thick insulation, sturdy construction, and a reliable sealing mechanism to prevent air leakage. Look for coolers with additional features such as UV resistance, drainage plugs, and durable handles for easy transportation. Insulated coolers made from materials like rotomolded plastic are known for their excellent ice retention properties.
It’s also worth considering a cooler with separate compartments or dividers. This allows you to keep different beverages or food items separate, ensuring that your beer stays cold without any cross-contamination.
By investing in a high-quality cooler, you’ll have a reliable and efficient way to keep your beer cold throughout your camping trip.
Pre-Cool Your Cooler
Before you pack your beer into the cooler, it’s important to pre-cool the cooler itself. This helps to create a cold environment that can better maintain the low temperature of your beer.
To pre-cool your cooler, follow these steps:
Clean the cooler: Make sure your cooler is clean and free from any residue or odors from previous use. Use mild soap and water to clean the inside and outside of the cooler. Rinse it thoroughly and let it dry completely.
Chill the cooler: Place some ice packs or bags of ice inside the cooler and close the lid. Leave it closed for at least 30 minutes to an hour, allowing the cooler to cool down.
Empty and drain: After the pre-cooling period, empty the melted ice or remove the ice packs from the cooler. Make sure to drain any remaining water from the cooler.
By pre-cooling your cooler, you create a cold environment that helps to keep your beer colder for longer. It also reduces the initial temperature difference between the cooler and your beer, allowing for more efficient cooling.
Use Ice and Ice Packs
Using ice and ice packs is an effective way to keep your beer cold while camping. Here’s how to do it:
Choose the right ice: Opt for larger ice cubes or blocks rather than crushed ice. Larger ice pieces melt more slowly and help maintain a colder temperature inside the cooler.
Pack the cooler strategically: Start by placing a layer of ice at the bottom of the cooler. Then, add a layer of beer cans or bottles on top of the ice. Place more ice around and on top of the beers, ensuring they are completely covered.
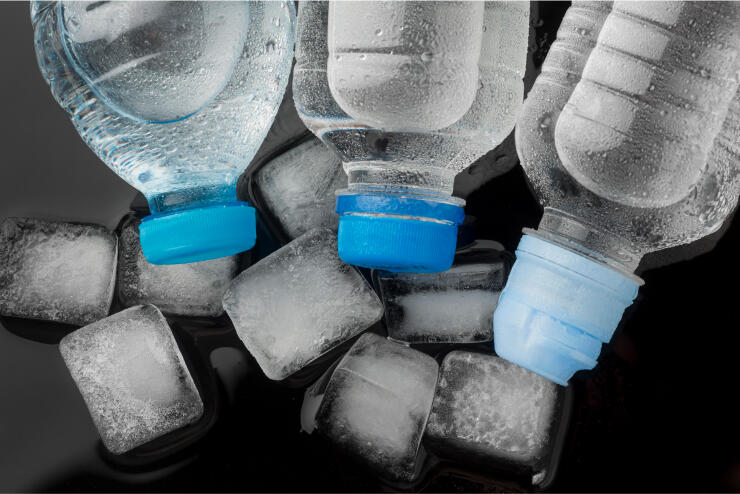
Use ice packs: Ice packs are a convenient alternative to traditional ice. They can be reused, are leak-proof, and help maintain a consistent temperature. Place the ice packs alongside the beer cans or bottles to keep them cold.
Keep the cooler closed: Every time you open the cooler, warm air enters, and cold air escapes. To maximize the cooling efficiency, avoid opening the cooler frequently. Retrieve only what you need, and close the lid promptly.
Refresh the ice: As the ice melts, periodically replace it with fresh ice or ice packs. This helps to maintain a cold temperature inside the cooler and keep your beer chilled.
Remember to pack the cooler with enough ice or ice packs to last for the duration of your camping trip. The amount needed will depend on factors like ambient temperature, duration of the trip, and the insulation of your cooler.
Keep the Cooler in a Cool Location
Keeping your cooler in a cool location is crucial for ensuring that your beer stays cold while camping. Here’s what you need to know:
Find a shaded spot: Look for a shady area, away from direct sunlight. Sunlight can quickly heat up the cooler and cause the ice to melt faster.
Avoid hot areas: Keep the cooler away from hot surfaces or places that generate heat, such as the campfire or the engine of your vehicle. Heat can transfer to the cooler and affect its cooling capacity.
Utilize natural coolers: If available, take advantage of natural cooling options. For example, you can place the cooler in a nearby stream, river, or lake, where the cool water can help maintain the temperature inside the cooler.
Insulate the cooler: Use blankets, towels, or insulating materials to wrap around the cooler and provide additional insulation. This can help keep the cold air inside and prevent warm air from entering.
Elevate the cooler: Place the cooler on a raised surface, such as a picnic table or a platform, to minimize contact with the ground. The ground can absorb and radiate heat, which can affect the cooler’s performance.
By keeping your cooler in a cool location, you can extend the lifespan of the ice and keep your beer refreshingly cold throughout your camping trip.
Minimize Opening the Cooler
To keep your beer cold while camping, it’s important to minimize the number of times you open the cooler. Here’s how you can do it:
Plan ahead: Organize your cooler in a way that allows easy access to the items you’ll need most frequently. This way, you can grab what you need without having to rummage through the entire cooler.
Use separate coolers: If possible, consider using separate coolers for food and beverages. This way, you can access the beverages without exposing the food to warm air.
Keep drinks on top: Place the beer and other beverages on top of the ice or at the cooler’s lid. This way, you can easily grab a cold drink without having to dig through the contents of the cooler.
Use smaller coolers or containers: Instead of using one large cooler, consider using smaller coolers or containers for individual drinks or smaller quantities. This allows you to take out only what you need, minimizing the amount of time the cooler remains open.
Have a designated drink cooler: If you have multiple coolers, designate one specifically for drinks. This way, you can keep the food cooler closed more often, reducing the chances of warm air entering and affecting the overall temperature.
By minimizing the opening of the cooler, you can maintain a colder temperature inside, ensuring that your beer stays cold and refreshing for a longer period during your camping trip.
Separate Drinks and Food
To keep your beer cold while camping, it’s essential to separate your drinks from your food in the cooler. Here’s why and how you can do it:
Prevent temperature fluctuations: Drinks and food have different temperature requirements. By separating them, you can regulate the temperature for each more effectively. Opening the cooler to grab a drink won’t expose the food to warm air, helping it stay fresher for longer.
Use separate cooler compartments: If you have a cooler with multiple compartments or dividers, take advantage of them. Assign one section for drinks and another for food. This way, you can access the drinks without disturbing the food compartment.
Use individual coolers or containers: If you have space and resources, consider using separate coolers or containers for drinks and food. This allows you to have dedicated storage for each, making it easier to access what you need without affecting the temperature of the other items.
Layering technique: If you only have one cooler, use a layering technique to separate the drinks from the food. Place a layer of ice at the bottom, followed by a barrier (such as a waterproof bag or plastic divider), and then add your drinks on top. This creates a physical separation and helps maintain the temperature difference.
By separating your drinks and food in the cooler, you can ensure that your beer stays cold without compromising the freshness and quality of your food items. It’s a simple yet effective way to optimize the cooling efficiency of your camping setup.
Use Insulated Koozies or Wraps
To keep your beer cold while camping, using insulated koozies or wraps can be a game-changer. Here’s how you can make the most of them:
Insulated koozies: Invest in high-quality insulated koozies designed specifically for keeping beverages cold. These koozies are usually made of materials like neoprene or foam, which provide excellent insulation. Slip one onto each beer can or bottle to help maintain its cold temperature.
Insulated wraps: If you’re bringing larger bottles or growlers of beer, consider using insulated wraps. These wraps are typically made of neoprene or similar insulating materials and can be secured around the bottle with Velcro or zippers. They provide an extra layer of insulation and help prevent heat transfer from the environment.
Double up on insulation: For maximum effectiveness, combine the use of koozies or wraps with your cooler. Place the beers in the cooler with ice or cold packs, and then use the koozies or wraps as additional insulation. This double-layered approach will help keep the beers colder for longer.
Keep them shaded: When camping, try to keep your beer in shaded areas, away from direct sunlight. Sunlight can quickly heat up the bottles or cans and compromise their coldness. Use a cooler or find a shady spot to store your beer throughout the day.
Refresh with cold water: If you’re spending an extended period camping and the beers start to lose their chill, you can refresh them by dipping them in a cold-water source like a river or stream. Leave them in the water for a few minutes to cool them down before enjoying.
By using insulated koozies or wraps, you can provide an extra layer of insulation to your beer, helping to keep it cold for a more extended period while camping. Combined with proper cooler usage and shade, you’ll be able to enjoy refreshing, cold beers throughout your camping trip.
Consider Frozen Beer
If you want to take the coldness of your beer to the next level while camping, consider freezing some of your beer before heading out. Here’s how frozen beer can help keep your drinks cold:
Pre-freeze beer bottles or cans: Prior to your camping trip, place a few beer bottles or cans in the freezer overnight or for several hours until they are partially frozen. Make sure to leave enough space in the container for the liquid to expand as it freezes.
Use frozen beer as ice packs: Once the beer is partially frozen, transfer them to your cooler alongside the rest of your beverages. The frozen beer acts as a makeshift ice pack, helping to keep the other drinks cold. It also means that you’ll have some icy cold beer to enjoy as it slowly thaws out.
Keep beers separate: To prevent cross-contamination and ensure the non-frozen beers stay cold, consider keeping the frozen beers in a separate section of your cooler. This will help maintain the desired temperature for both the frozen and non-frozen beverages.
Time it right: Plan your beer consumption strategically. Start with the non-frozen beers first, as they will be at their coldest. As the trip progresses and the non-frozen beers start to warm up, transition to the partially frozen beers. By the time you reach the frozen ones, they should be thawed enough to enjoy.
Drink responsibly: Remember to drink responsibly and be mindful of alcohol consumption while camping. Enjoy your cold beers in moderation, and always prioritize safety and responsible behavior.
Using frozen beer as a cooling method adds an extra layer of coldness to your camping experience. It keeps your drinks colder for longer and provides the added benefit of having some refreshing icy beers on hand. Just be sure to plan accordingly and drink responsibly while enjoying your time in the great outdoors.
Plan Consumption and Restock
To ensure you always have cold beer while camping, it’s important to plan your consumption and restock strategy. Here’s how you can effectively manage your beer supply:
Estimate your beer needs: Consider the duration of your camping trip, the number of people, and their drinking preferences. Calculate the approximate amount of beer you’ll need to keep everyone satisfied.
Opt for cans over bottles: Cans are generally better for camping as they are lighter, easier to pack, and cool down faster. They also help to minimize the risk of broken glass in your camping area.
Create a drink rotation system: Designate a specific area or cooler section for each day or occasion. For example, you can have a “Day 1” section, “Day 2” section, and so on. This way, you can prioritize the consumption of the beers in each section before moving on to the next.
Keep a separate cooler for restocking: If you plan to restock your beer supply during your camping trip, use a separate cooler or designated section within your main cooler for the new beers. This ensures that the new additions are kept cold and separate from the ones you’ve already consumed.
Utilize cold packs or ice for restocking: When adding new beers to your cooler, consider using cold packs or ice to maintain their temperature. This helps to quickly bring the new beers to a refreshing coldness and prevents them from warming up the rest of the cooler contents.
Store excess beer in a shaded area: If you have extra beer that won’t fit in your cooler, store it in a shaded area, away from direct sunlight. This will help maintain a cooler temperature and prevent the beer from getting too warm.
Keep track of your inventory: Create a list or keep a mental note of the beer you have and the quantity consumed. This will help you gauge how much is left and when you need to restock.
By planning your consumption and restocking strategy, you can ensure that you always have cold beer available during your camping trip. It allows you to enjoy refreshing drinks while enjoying the great outdoors. Just remember to drink responsibly and follow any local regulations regarding alcohol consumption.
Properly Dispose of Melted Ice
When your ice melts in the cooler, it’s important to properly dispose of the water to maintain cleanliness and prevent any potential environmental impacts. Here’s how you can handle melted ice:
Drain the water away from your campsite: Find a suitable location away from your campsite, such as a designated drain or a safe area where the water won’t cause any harm to plants or wildlife. Avoid draining the water directly onto the ground, especially in sensitive natural areas.
Use a strainer or filter: If there are any solid particles or debris in the melted ice water, use a strainer or filter to remove them before disposing of the water. This helps to prevent clogging or contamination issues.
Consider filtering and purifying: If you’re camping in a remote area where water sources may be scarce, you can filter and purify the melted ice water for drinking purposes. Use a water filter or purification system that is specifically designed for outdoor use to ensure the water is safe to consume.
Follow Leave No Trace principles: When disposing of the melted ice water, always adhere to the principles of Leave No Trace. This means leaving the campsite in the same or better condition than you found it. Avoid contaminating water sources, damaging vegetation, or disrupting wildlife habitats.
Pack out any remaining ice or debris: If there is any remaining ice or debris in the cooler after you’ve drained the water, make sure to properly pack it out with your other trash. Don’t leave any trace of your camping activities behind.
By following these steps, you can responsibly dispose of melted ice water while camping. It helps to maintain cleanliness, protect the environment, and uphold the principles of responsible outdoor recreation.
Conclusion
Keeping your beer cold while camping is essential for a refreshing and enjoyable outdoor experience. By following these tips and techniques, you can ensure that your beer stays chilled throughout your camping trip:
Choose the right cooler: Invest in a high-quality cooler that offers excellent insulation and temperature retention.
Pre-cool your cooler: Before packing your beer, cool down the empty cooler by placing ice packs or frozen water bottles inside for a few hours.
Use ice and ice packs: Fill your cooler with a combination of ice and ice packs to provide consistent cooling for your beer.
Keep the cooler in a cool location: Place your cooler in a shaded area or use a reflective cover to minimize heat absorption.
Minimize opening the cooler: Limit the frequency of opening the cooler to prevent warm air from entering and cold air from escaping.
Separate drinks and food: Store your beer separately from food items to maintain a lower temperature inside the cooler.
Use insulated koozies or wraps: Keep individual beer cans or bottles insulated with koozies or wraps to provide an extra layer of insulation.
Consider frozen beer: If you have enough freezer space, freeze a few cans or bottles of beer and place them in the cooler. As they thaw, they will help keep the rest of the beer cold.
Plan consumption and restock: Keep track of your beer supply and consume them in the order they were packed. Consider restocking with fresh cold beer if needed.
Remember to drink responsibly and adhere to any local regulations or restrictions regarding alcohol consumption in camping areas. With these tips, you can savor chilled beer and make lasting memories on your camping adventure. Cheers!
Winter camping demands a completely different nutritional strategy than summer trips. The cold environment fundamentally changes how your body functions,



 Best Foods to Bring Winter Camping
 Best Hiking Snacks
 How to Cook Over a Campfire